WPFでカメラ操作
今回はC#のWPFでカメラ操作するプログラム製作にポンコツ2人組が挑戦してみました。 カメラ映像を表示し、撮影すると画像ファイルにしてAPIサーバーに送信するアプリケーションです。 開発環境はVisualStudio2019でライブラリはOpenCvSharp4を使用しています。(バージョンは4.3.0.20200524) NuGetでインストールしてください。 C#初心者が制作したものなのでいろいろとおかしい部分が多いと思います。プログラムを流用する際は適宜修正してください。
※この記事は2023/09/02時点の情報です。
MainWindow.xaml
カメラ映像を表示するImageと撮影ボタンを配置しています。
<Window x:Class="WpfApp2.MainWindow"
        xmlns="http://schemas.microsoft.com/winfx/2006/xaml/presentation"
        xmlns:x="http://schemas.microsoft.com/winfx/2006/xaml"
        Title="Camera Capture App" Height="400" Width="600">
    <Grid>
        <Image x:Name="cameraImage" Width="400" Height="300" HorizontalAlignment="Center" VerticalAlignment="Center"/>
        <Button Content="撮影" Width="100" Height="40" VerticalAlignment="Bottom" HorizontalAlignment="Center" Click="CaptureButton_Click"/>
    </Grid>
</Window>
MainWindow.xaml.cs
カメラが存在する場合は接続して画面にカメラ映像を表示します。
撮影ボタンが押されたら、押された時点の映像を画像にしてAPIサーバーに送信しています。
//NuGetで以下をインストール
//バージョン:4.3.0.20200524
//OpenCvSharp
//OpenCvSharp4.runtime.win
//OpenCvSharp4.Windows

using System;
using System.IO;
using System.Net.Http;
using System.Threading.Tasks;
using OpenCvSharp;
using System.Windows;
using System.Windows.Controls;
using System.Windows.Media.Imaging;
using Window = System.Windows.Window;
using System.Windows.Media;
using OpenCvSharp.Extensions;

namespace WpfApp2
{
    public partial class MainWindow : Window
    {
        private VideoCapture capture;
        private Mat currentFrame;
        private bool capturing = false;

        public MainWindow()
        {
            InitializeComponent();
            capture = new VideoCapture(0); // カメラデバイスを選択(0はデフォルトのカメラ)

            if (!capture.IsOpened())
            {
                MessageBox.Show("カメラデバイスが利用できません。");
                Close();
            }

            CompositionTarget.Rendering += CompositionTarget_Rendering;
        }

        private async void CompositionTarget_Rendering(object sender, EventArgs e)
        {
            if (capture != null && capture.IsOpened() && !capturing)
            {
                capturing = true;
                currentFrame = new Mat();
                capture.Read(currentFrame);

                if (!currentFrame.Empty())
                {
                    var bitmapSource = BitmapSourceConverter.ToBitmapSource(currentFrame);
                    cameraImage.Source = bitmapSource;
                }
                capturing = false;
            }

            await Task.Delay(33); // 30 FPSの更新レートに合わせて適切な間隔を設定
        }

        private async void CaptureButton_Click(object sender, RoutedEventArgs e)
        {
            if (capture != null && capture.IsOpened())
            {
                capturing = true; // キャプチャ中は更新を停止

                // 画像を保存
                string imagePath = "captured_image.jpg";
                currentFrame.SaveImage(imagePath);

                // 画像をAPIサーバーにアップロード
                await UploadImageToServer(imagePath);

                capturing = false; // キャプチャが終了したら再開
            }
        }

        private async Task UploadImageToServer(string imagePath)
        {
            using (var httpClient = new HttpClient())
            {
                try
                {
                    byte[] imageBytes = File.ReadAllBytes(imagePath);
                    ByteArrayContent byteContent = new ByteArrayContent(imageBytes);

                    using (var formData = new MultipartFormDataContent())
                    {
                        formData.Add(byteContent, "file", "captured_image.jpg");

                        var response = await httpClient.PostAsync("http://localhost:8080/sampleApi/api/upload", formData);

                        if (response.IsSuccessStatusCode)
                        {
                            MessageBox.Show("画像をアップロードしました。");
                        }
                        else
                        {
                            MessageBox.Show("画像のアップロードに失敗しました。");
                        }
                    }
                }
                catch (Exception ex)
                {
                    MessageBox.Show("エラー: " + ex.Message);
                }
            }
        }
    }
}
ApiController.java
一応APIのソースも掲載しておきます。今回はSpring Bootで制作しています。
リクエストで送られたきた画像ファイルを受信するだけの単純な処理になっています。
package com.example.demo;
import java.io.IOException;
import java.util.ArrayList;
import org.springframework.http.ResponseEntity;
import org.springframework.web.bind.annotation.PostMapping;
import org.springframework.web.bind.annotation.RequestBody;
import org.springframework.web.bind.annotation.RequestMapping;
import org.springframework.web.bind.annotation.RequestParam;
import org.springframework.web.bind.annotation.ResponseBody;
import org.springframework.web.bind.annotation.RestController;
import org.springframework.web.multipart.MultipartFile;
@RestController
@RequestMapping("/api")
public class ApiController {
@PostMapping("/upload")
public ResponseEntity<String> uploadFile(@RequestParam("file") MultipartFile file) {
if (file.isEmpty()) {
return ResponseEntity.internalServerError().body(null);
}
// ファイルの保存や他の処理を行う場所
try {
byte[] bytes = file.getBytes();
System.out.println("画像ファイルの受信OK");
// ここでファイルを保存または処理できます
// 例: ファイルをローカルに保存するか、他のサービスにアップロードするなど
return ResponseEntity.ok(null);
} catch (IOException e) {
e.printStackTrace();
return ResponseEntity.internalServerError().body(null);
}
}
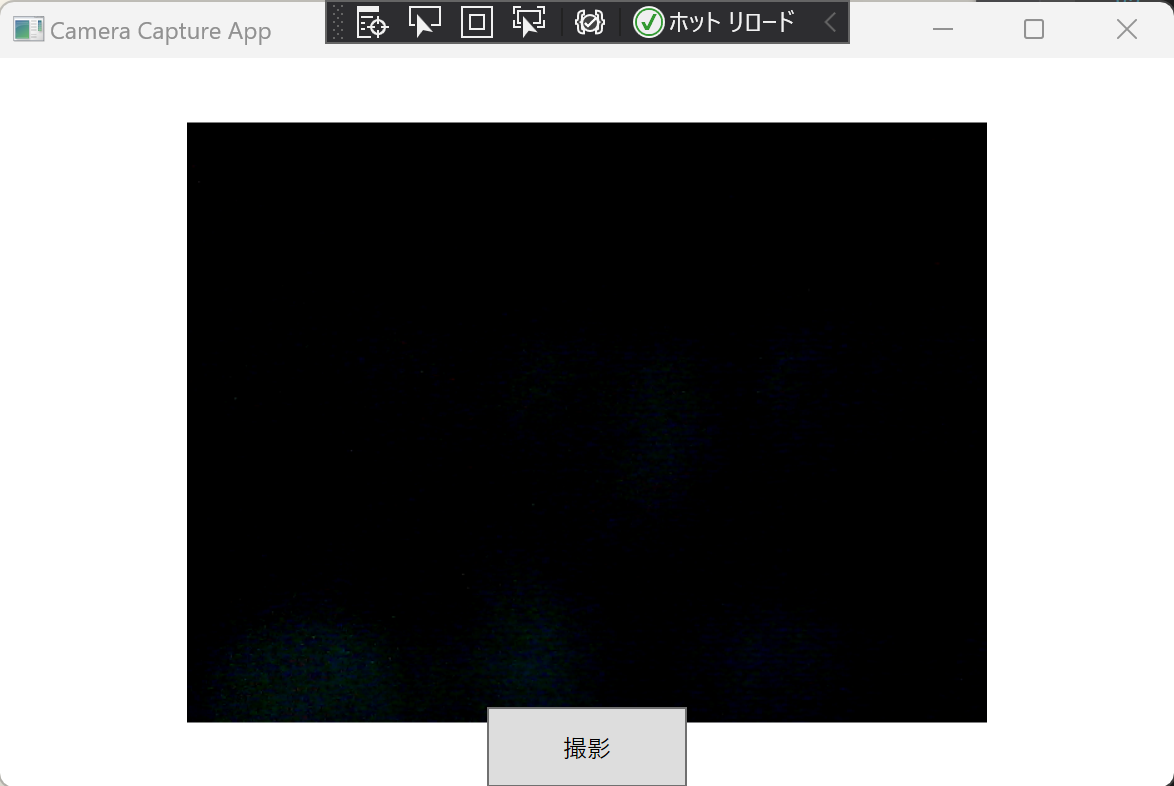
}以下がアプリケーションを実行した画面です。OpenCvSharpを使うと簡単にカメラ操作のプログラムができますね。 おかげさまでC#のWPFでカメラ操作することができました。